ROS2
Advanced
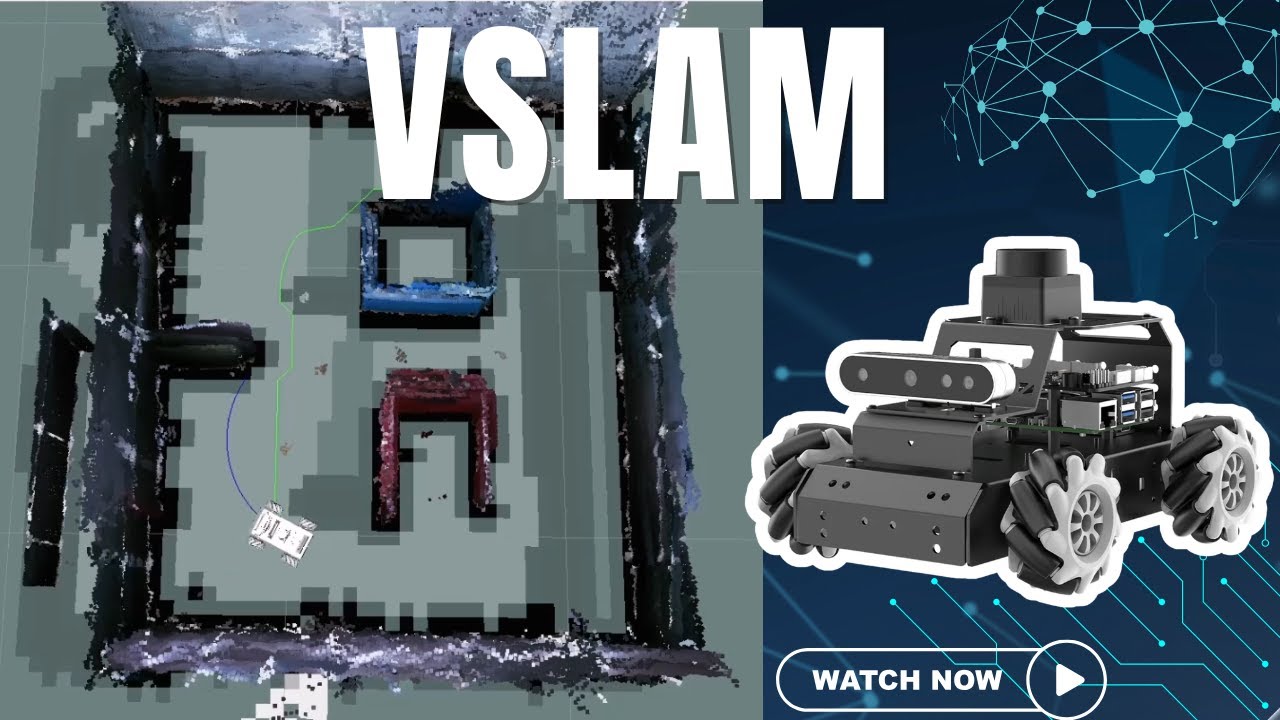
Watch It In Action
In this guide we build a 3D map of a room with RTAB-VSLAM on the MentorPi M1, then use that map for autonomous navigation.
RTAB-VSLAM stands for real-time appearance-based visual simultaneous localization and mapping. It's an open-source library that creates 3D maps while tracking the robot's position.
Its special feature is memory management. Short-term memory matches current continuous data, and long-term memory detects loop closures, when the robot revisits somewhere it has seen before. This keeps loop closure detection inside a fixed time limit, which suits long-term mapping of large spaces.
It works from visual features:
ros2 launch slam rtabmap_slam.launch.py
ros2 launch slam rviz_rtabmap.launch.py
ros2 launch peripherals teleop_key_control.launch.py
Drive with W and S for forward and back, and hold A or D to turn left or right.
The map saves automatically. Press Ctrl + C to close the mapping command, and the 3D map is saved to the system. Press Ctrl + C in each terminal to close everything.
Launch navigation on the robot and the navigation view on your virtual machine. This loads the 3D map, starts localization and prepares the path planner.
ros2 launch navigation rtabmap_navigation.launch.py
ros2 launch navigation rviz_rtabmap_navigation.launch.py
Click 2D Nav Goal in RViz, then click your target on the map. Two paths appear. The line of blue squares is the straight-line distance to the goal. The dark blue line is the route the robot will really follow, planned around known obstacles, safety margins, the robot's size and its turning radius.
As it drives, the robot keeps comparing what it sees with the stored 3D map. If it meets an obstacle, old or new, the dark blue path updates and it goes around.
For bigger missions, use the Publish Point tool to add several waypoints. The robot visits each in order and plans a path between them.
