Arduino
Intermediate
Watch It In Action
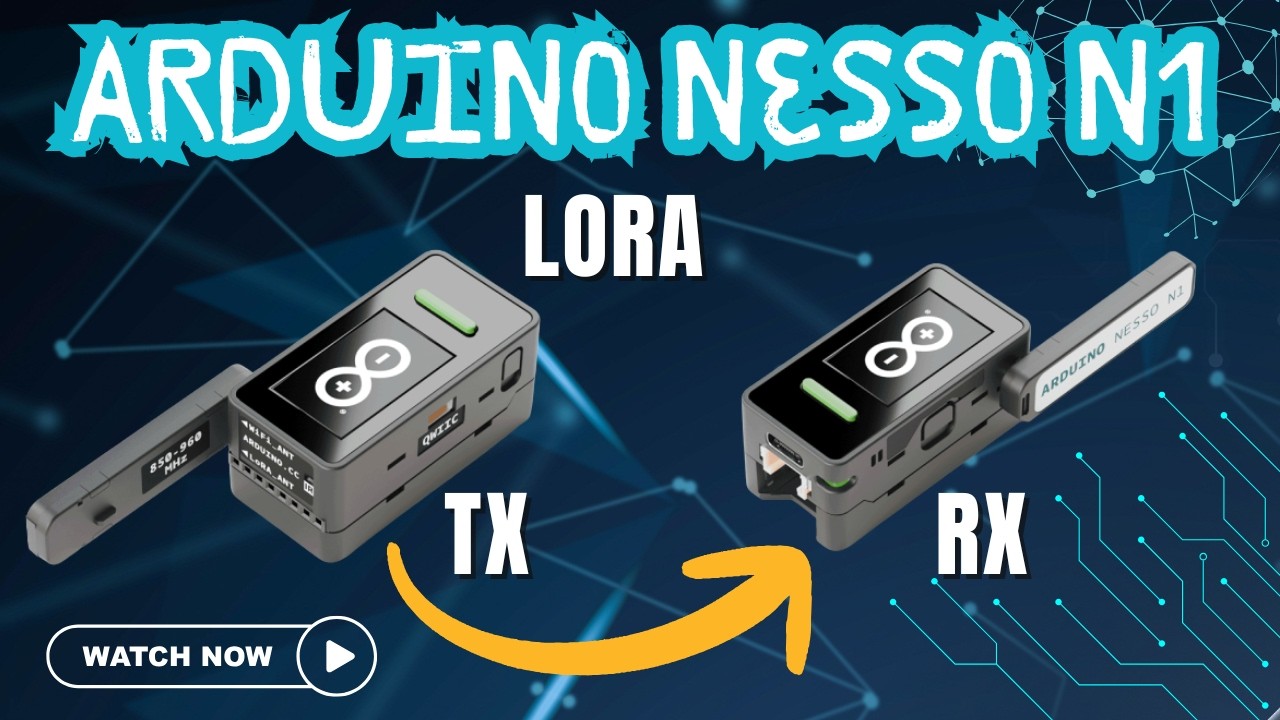
Two Arduino Nesso N1 boards talking over LoRa, with live signal quality on screen and not a single wire soldered, because the SX1262 radio and antenna are already onboard.
LoRa is great for long-range, low-power links: remote sensors, field controllers, anything where Wi-Fi quits on you. The N1's SX1262 pushes up to +22 dBm and hears down to –147 dBm.
Two boards, Arduino IDE or PlatformIO, and three libraries: M5Unified, Arduino_Nesso_N1 and RadioLib.
LoRa frequency depends on your region. I'm on 866.1 MHz. Europe is commonly 868 MHz, North America 915 MHz, and some regions use 433 MHz. Match your local rules.
I use RadioLib with an SX1262 object and pass in the Nesso N1 pin definitions: LORA_CS, LORA_IRQ and LORA_BUSY. Reset is RADIOLIB_NC because it's handled manually.
radio.begin(frequency).radio.setDio2AsRfSwitch(true). Skip this line and you'll transmit into a brick wall.The screen shows battery percentage, the packet counter, TX status and the last message. After upload, you should see LoRa TX at the top and the count going up.
It powers up the same way and must use the exact same frequency. Then it waits for packets with radio.receive(). After reboot it should say LoRa RX and waiting. When a packet lands, it reads:
radio.getRSSI(): strength in dBm. Closer to 0 is stronger.radio.getSNR(): signal-to-noise ratio. Higher is cleaner.Watch both move as you walk the receiver away from the transmitter. That's the fun part.
radio.begin() threw an error code to the screen. Enable LORA_ENABLE, LORA_LNA_ENABLE and LORA_ANTENNA_SWITCH.Nail this two-board handshake and you have the base for real field telemetry, like soil sensors and gate controllers. I'm thinking about sensor data over LoRa, acknowledgements, or a real outdoor range test next. Which one do you want?
