ROS2
Advanced
Watch It In Action
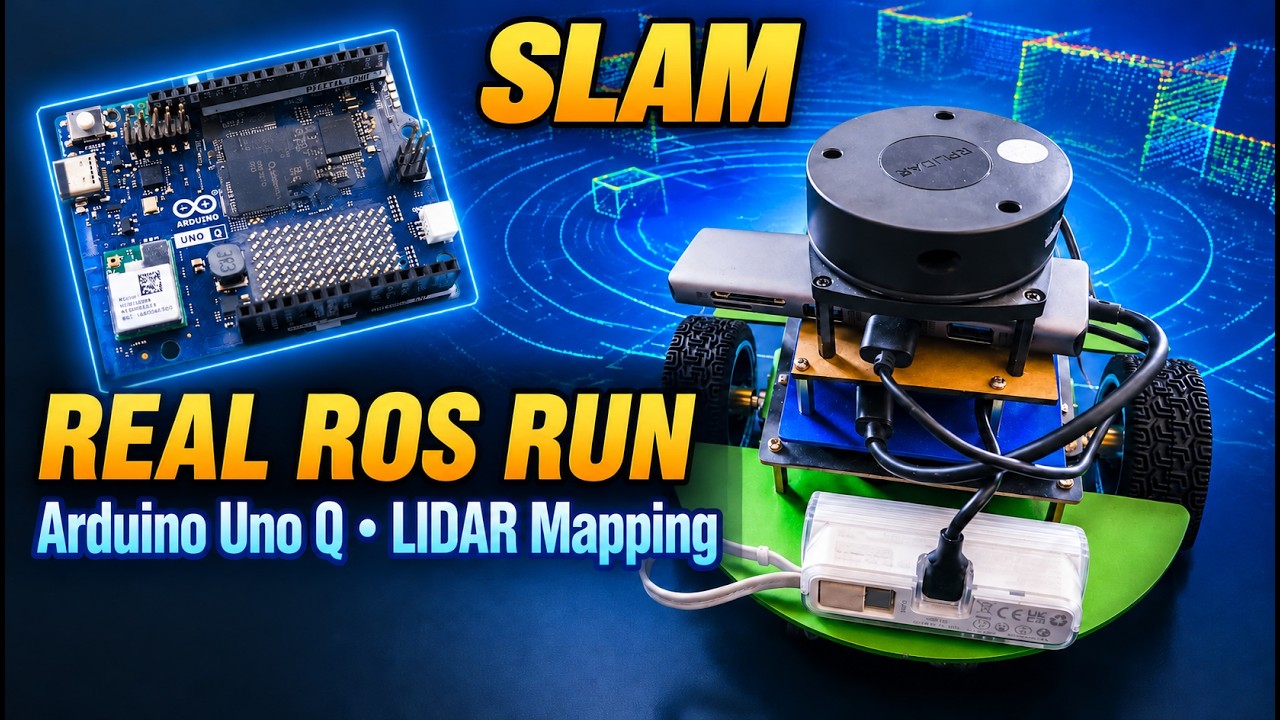
I clicked a spot on a map, and this robot went there by itself. It built that map on its own too, a few minutes earlier, with the spinning laser on top. The brain doing all of it is an Arduino, the new Uno Q. The kit was designed for a Jetson. I took the Jetson out.
This is a Waveshare JetBot kit: two motors, a little controller board in the chassis, a motion sensor, and an RPLIDAR A1 on top. The lidar spins and measures distance all the way around, about seven times a second.
The Uno Q runs Linux, so it can run ROS 2, the robot software most real robots use. One USB cable connects it to the JetBot's controller, and over that one cable I get the motors, the motion sensor and the lidar. That's the whole system.
To build a map, I drive it myself from the keyboard: I to go forward, J and L to turn, K to stop. In RViz, every gray pixel is floor the laser has seen, and every black line is something it hit, like a wall, the sofa or a chair leg.
Every time the laser spins, the software tries to line up the new scan with the map so far. It slides it, rotates it and finds the best fit. That fit tells the robot where it moved, and then the scan gets added to the map. When it comes back somewhere it has already been, it notices and corrects the whole map at once. That's why the walls snap straight when I finish the loop.
I drive slowly on purpose. The laser takes a moment for each spin, and if the robot moves fast during that spin, the picture smears. Slow makes a clean map.
You get two files: a picture of the room where each pixel is free, blocked or unknown, and a small text file that says how big each pixel is and where the map sits. That's the robot's memory of my room.
One habit: before I stop mapping, I write down exactly where the robot is on the map. That becomes its starting point for the next part.
Now the robot stops drawing and starts using the saved map. The little arrows in RViz are guesses, hundreds of possible places the robot might be. As it looks around with the laser, the bad guesses die off and the good ones cluster together.
This is the check I do every time before driving: do the red laser dots sit on the walls of the map? If yes, the robot knows where it is.
I click a spot on the map and drag to set which way it should face when it arrives. The green line is the route, planned in a fraction of a second, going around everything black. Then it makes three moves: spin to face the route, drive along it, and spin to face the direction I asked for. Simple, deliberate, and it works really well on a small computer.
Put a steel bottle in the way. The laser sees it, the map marks it plus a safety zone around it, and the route bends around it.
One detail makes this work. When a rectangle spins in place, it sweeps a circle, and the corners reach further than the sides. So I tell the software the robot is a circle 13 centimetres from centre, big enough to cover the corners. That way it leaves room to turn, even right next to the bottle.
Want more detail on the mapping, the localization or the obstacle avoidance? Tell me which part. I'm happy to share.
