M5Stack
Intermediate
~1-2 hrs (flash + assemble + test)
$88.80 (CoreS3 SE + LLM Module Kit)
Total: ~$88.80
Watch It In Action
The world of edge AI is rapidly evolving, and M5Stack has made it accessible with their CoreS3 SE and LLM Module Kit combination. This tutorial walks through building a fully offline AI voice assistant — no internet connection, no cloud API, just local speech recognition, language model inference, and text-to-speech running on the hardware itself.
CoreS3 SE: ESP32-S3 dual-core Xtensa LX7 @ 240MHz, 16MB Flash, 8MB PSRAM, 2.0" IPS touchscreen (320×240), built-in 1W speaker and dual mics, WiFi, USB-C with OTG, AXP2101 power management.
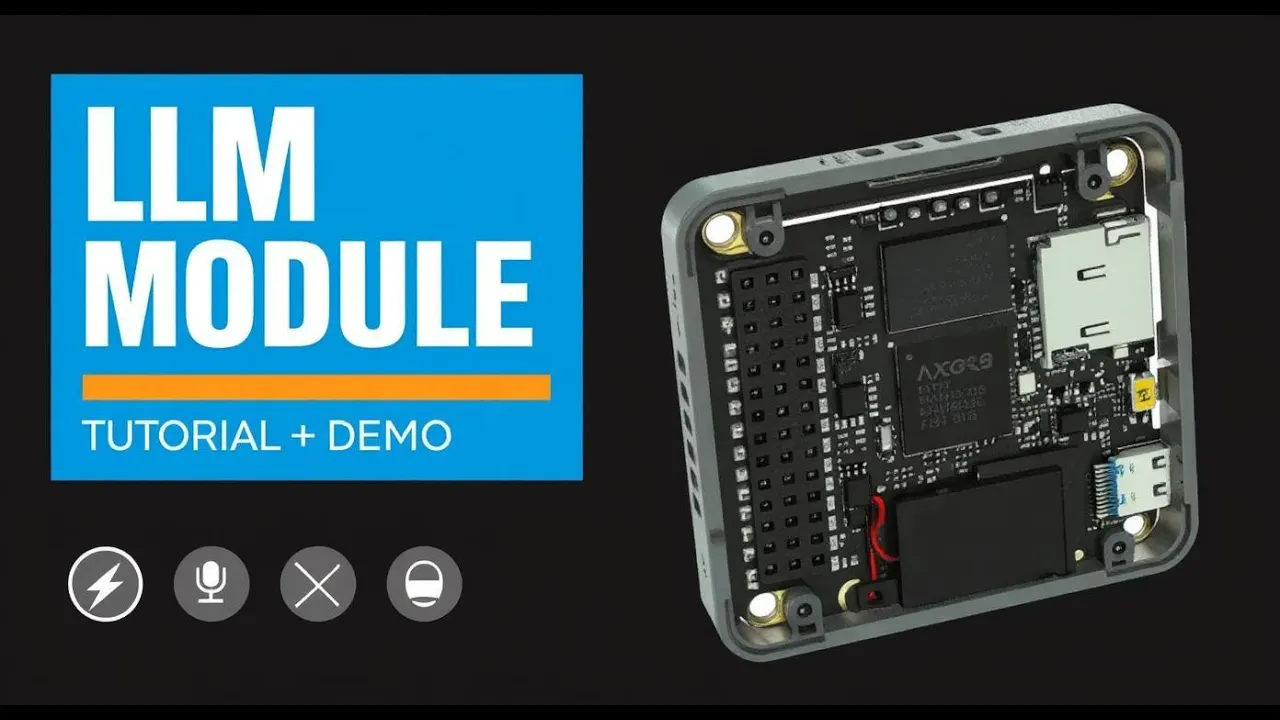
LLM Module Kit: AX630C SoC, dual Cortex-A53 @ 1.2GHz, 3.2 TOPS @ INT8, 4GB LPDDR4 (1GB system / 3GB AI acceleration), 32GB eMMC with Ubuntu preinstalled. Handles wake word (KWS), speech recognition (ASR), language model inference, and text-to-speech — all on-device, at roughly 1.5W.
This is the working example from M5Stack's own repo, unmodified:
/*
 * SPDX-FileCopyrightText: 2024 M5Stack Technology CO LTD
 * SPDX-License-Identifier: MIT
 */
#include <Arduino.h>
#include <M5Unified.h>
#include <M5ModuleLLM.h>

M5ModuleLLM module_llm;
M5ModuleLLM_VoiceAssistant voice_assistant(&module_llm);

void on_asr_data_input(String data, bool isFinish, int index)
{
    M5.Display.setTextColor(TFT_GREEN, TFT_BLACK);
    M5.Display.printf(">> %s\n", data.c_str());
    if (isFinish) {
        M5.Display.setTextColor(TFT_YELLOW, TFT_BLACK);
        M5.Display.print(">> ");
    }
};

void on_llm_data_input(String data, bool isFinish, int index)
{
    M5.Display.print(data);
    if (isFinish) {
        M5.Display.print("\n");
    }
};

void setup()
{
    M5.begin();
    M5.Display.setTextSize(2);
    M5.Display.setTextScroll(true);

    int rxd = M5.getPin(m5::pin_name_t::port_c_rxd);
    int txd = M5.getPin(m5::pin_name_t::port_c_txd);
    Serial2.begin(115200, SERIAL_8N1, rxd, txd);

    module_llm.begin(&Serial2);

    M5.Display.printf(">> Check ModuleLLM connection..\n");
    while (1) {
        if (module_llm.checkConnection()) {
            break;
        }
    }

    M5.Display.printf(">> Begin voice assistant..\n");
    int ret = voice_assistant.begin("HELLO");
    if (ret != MODULE_LLM_OK) {
        while (1) {
            M5.Display.setTextColor(TFT_RED);
            M5.Display.printf(">> Begin voice assistant failed\n");
        }
    }

    voice_assistant.onAsrDataInput(on_asr_data_input);
    voice_assistant.onLlmDataInput(on_llm_data_input);

    M5.Display.printf(">> Voice assistant ready\n");
}

void loop()
{
    voice_assistant.update();
}on_asr_data_input fires as speech gets recognized (shown in green, then yellow once the utterance is done). on_llm_data_input fires as the model streams its response back token by token — that's the typewriter effect on screen.M5.getPin() auto-resolves the correct RX/TX pins for whatever M5Stack board you're on, so you don't have to hardcode them.voice_assistant.begin("HELLO") sets the wake word and loads the model. Swap the string for Chinese wake word/ASR: begin("你好你好", "", "zh_CN").update(). Audio capture, ASR, LLM inference, and TTS all happen inside the library — your sketch just has to get out of the way.On boot you'll see three lines: "Check ModuleLLM connection.." → "Begin voice assistant.." → "Voice assistant ready." Then try:
M5.getPin() should handle this automatically, but if not: CoreS3 is RXD 18 / TXD 17, Core2 is RXD 13 / TXD 14, Basic is RXD 16 / TXD 17.A few concrete extensions once the base example is working:
int ret = voice_assistant.begin("JARVIS"); // instead of "HELLO"int connection_attempts = 0;
while (connection_attempts < 30) {
if (module_llm.checkConnection()) break;
delay(1000);
connection_attempts++;
M5.Display.printf("Attempt %d/30\n", connection_attempts);
}
if (connection_attempts >= 30) {
M5.Display.setTextColor(TFT_RED);
M5.Display.printf(">> Connection failed after 30 seconds\n");
while(1) delay(1000);
}void on_llm_data_input(String data, bool isFinish, int index) {
static String complete_response = "";
complete_response += data;
M5.Display.print(data);
if (isFinish) {
M5.Display.print("\n");
if (complete_response.indexOf("temperature") >= 0) {
displayTemperature(); // your own function
}
complete_response = "";
}
}The LLM module also supports model swaps (Qwen2.5-0.5B/1.5B, Llama-3.2-1B, plus vision and speech models) via apt update && apt upgrade on its own Ubuntu system, and OTA firmware updates over WiFi — worth exploring once the base build is solid.
Fully offline voice AI on a ~$90 stack, running at 1.5W, is a genuinely new capability for makers — no API keys, no latency to a cloud endpoint, no monthly bill, and it keeps working even if your WiFi doesn't. That's the difference between a demo you show people once and something you'd actually wire into a project that has to keep working reliably in a garage or a field.
